I highly recommend that if you're interested in removing your side vents, that you think hard about it. There are times that it's necessary to do it, and in those situations, I suggest that you be not afraid, and push through and do it. But if you're thinking of removing them just for cleaning, I would strongly suggest you spend your time doing something else.
Why do I give this warning? Because it's a pain in the rear to do this, and you stand a good chance of breaking something or scratching something. This part of the car is almost unique in that it is not easy to remove.
I'd like to point out that I am terrible at this particular job, and I managed to crack one of my louvres and then I later broke it. The good news is that a new one costs $10. The other good news is that Porsche re-designed the louvres to make them stronger. The bad news is that they're harder to remove now!
Anyway, I do not in the least intend this as the last word in this procedure. If you've found better tips or methods, please let me know and I'll include them here.
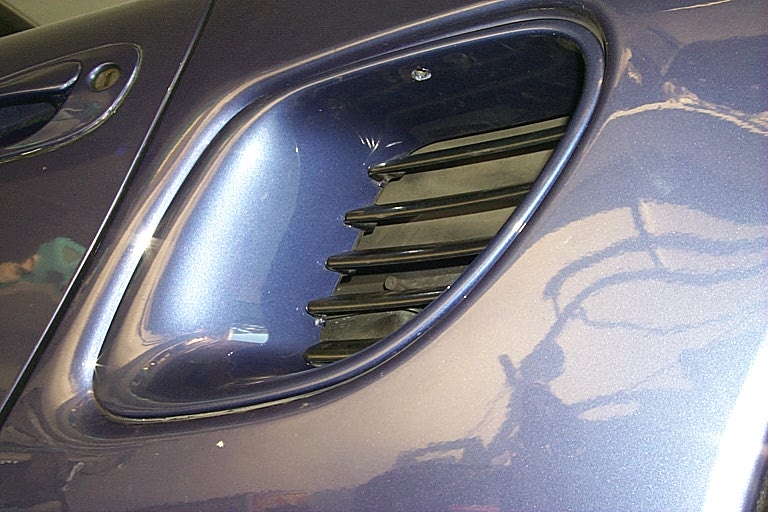
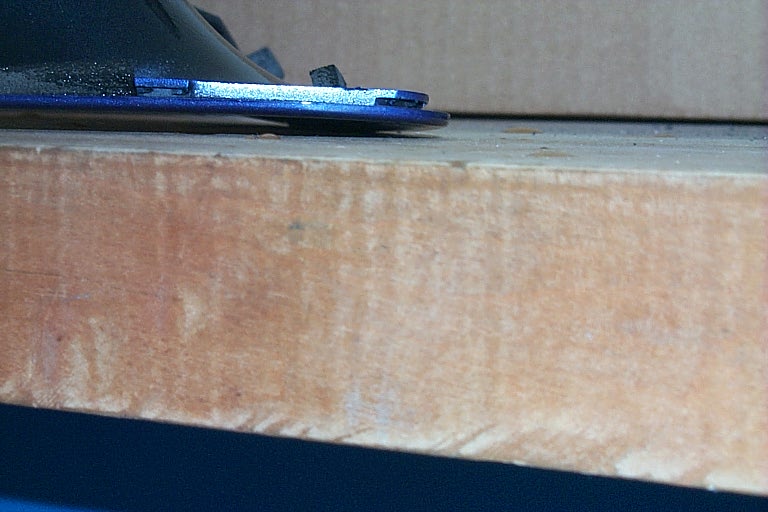
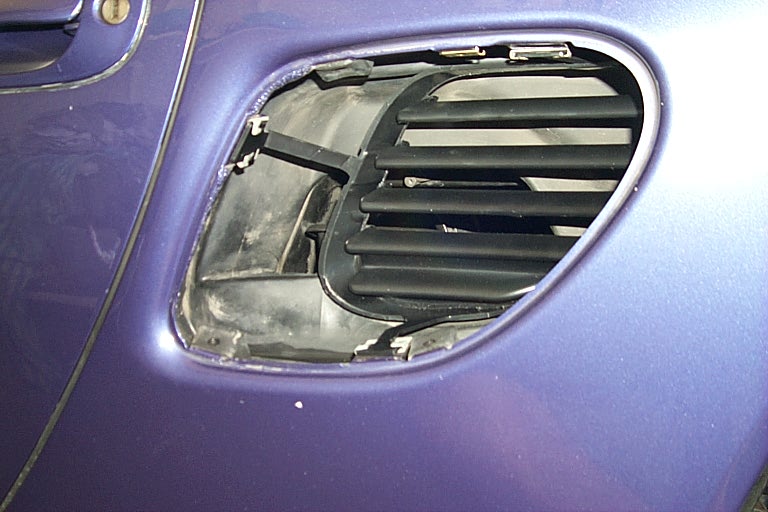
First, remove the screw on the top of the intake. You can easily see the screw hole in the picture below.
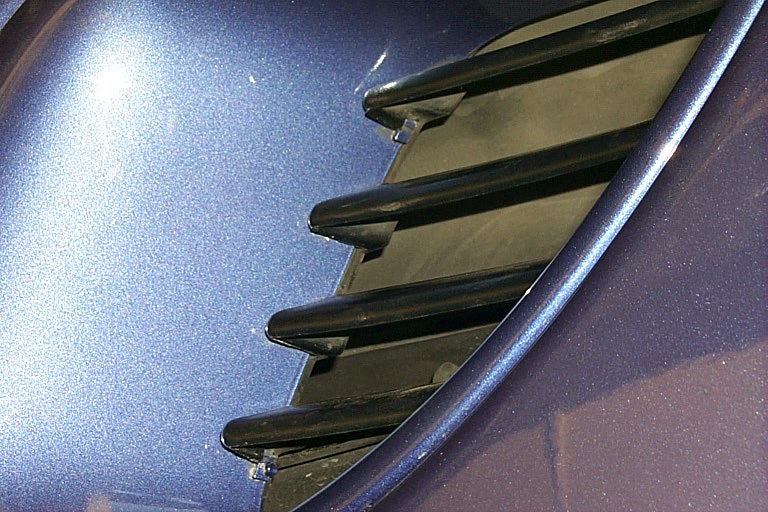
Now note that there are notches under two of the louvres on each side. The two are the first and the fourth louvres from the top. Somehow you need to finesse these louvres off of these notches. Porsche's workshop manual isn't very helpful at all on this job, but it says cryptically to use a plastic wedge.
I think the best way to understand how to disassemble the rest of the vent is to look at what the parts look like.
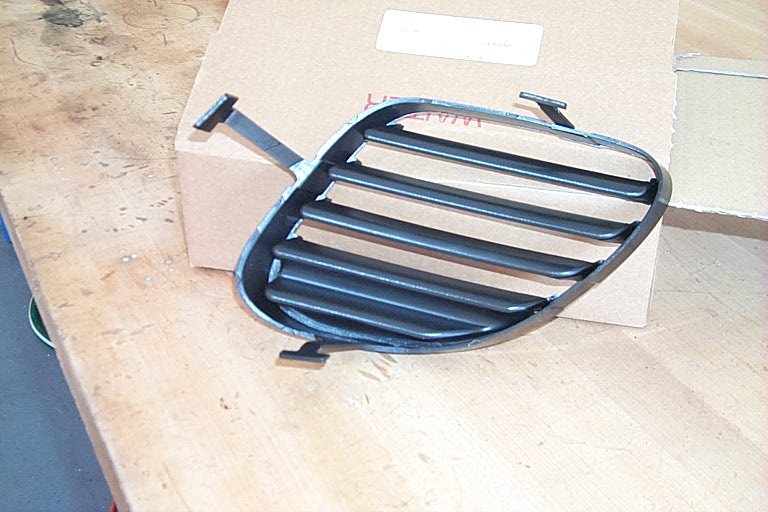
Here's a picture of the louvres, the new set, before they're installed.
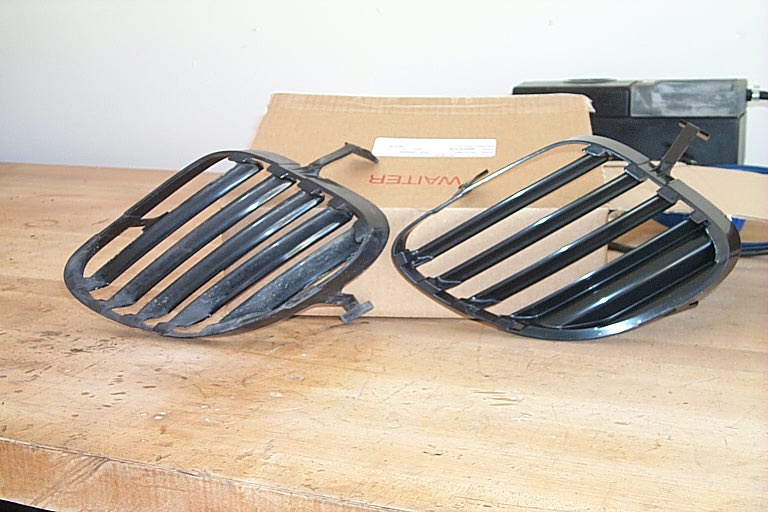
And here's the old next to the new. If you look closely you'll see that the original vent from my '99 boxster has individual louvres all the way down. The new louvres have the bottom two louvres connected. This could be to prevent the broken louvre like I experienced, or it could be to help reduce the number of cigarettes that ignite the engine compartments by entering through the louvres. Your theory is as good as mine.
Note that there are three tabs. One goes on the top, one the bottom, and he other goes on the leading edge.

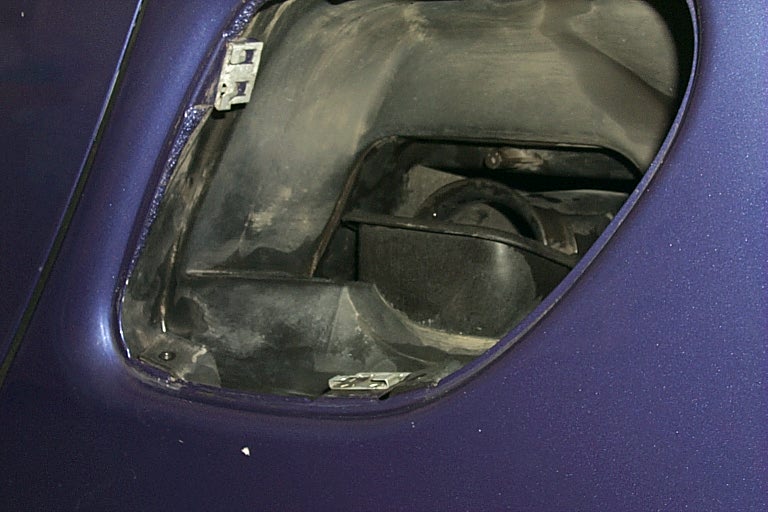
Now let's look at the painted housing. It is held in by three means. First the screw that you already removed. Second, it's an interference fit. Boy is it an interference fit! Third, there is a groove on the lower leading corner that fits over the car body skin.
Note that it isn't very deep.
The tabs on the louvres fit into three metal slots (only two in this picture, I'm a terrible photographer).
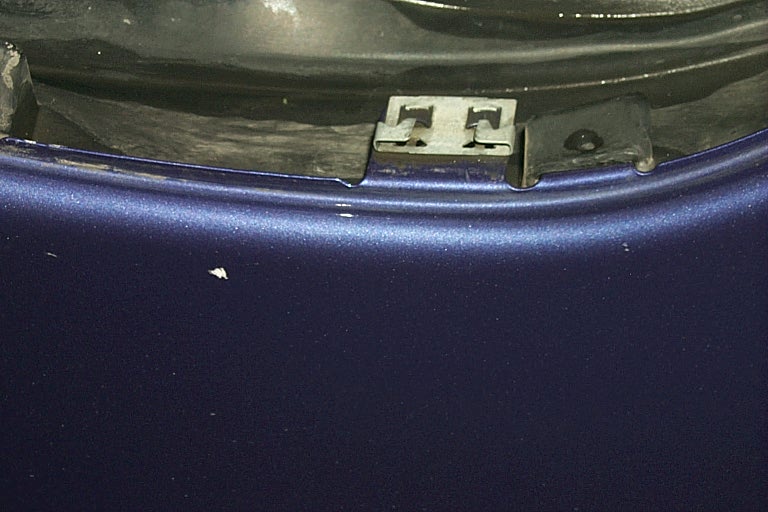
Note how the metal slot above has an opening on top, which the arm of the tab fits in while you try to reassemble the vent. Also note how there are two ears on the slot. These keep the tabs from moving outward.
Note: The tabs only move inward, they have to be pushed inward to put them in or to take them out!!!
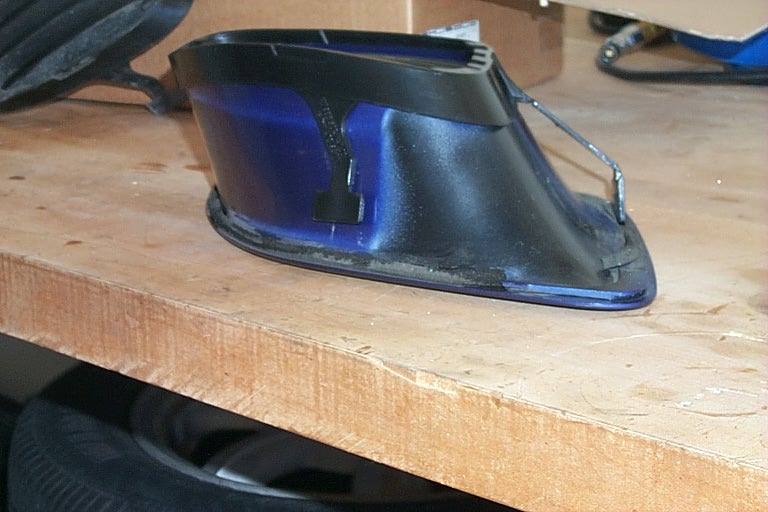
Here's how the louvres fit on the housing.
And here's how the louvres fit in the metal slots.
So, how do you get all these parts off of the car?
Here goes:
1. Remove the screw.
2. Get the louvres off of the notches, but pushing and squeezing and encouraging. I'm not very helpful here because I have yet to figure out how to do it neatly.
3. Push the louvres inward as much as you can, hopefully pushing the tabs out through the metal slots.
4. Pull the housing up and rearward while pulling the groove off of the lower forward corner. You should easily feel when it's loose.
5. Remove the housing by pushing, pulling, tilting and encouraging it off. I haven't figured out how to do this neatly either.
6. Once the housing is off, the rest follows naturally.
Reassembly.
Reassembly isn't much easier. The best way I've found is to put the louvres on the housing, and then carefully insert it into the car while lining up the tabs into the tab slots. At the same time, fudge the groove over the car body. Once it's in place nice and tight, install the screw. Then check to make sure it's still hooked on. Then undo it and do it again right. Then check it. Then undo it and try again. Repeat as necessary!
Any helpful hints are more than welcome!