After two and a half years and 47,000 miles, my boxster began to tend to run hot, especially in Austin's extremely hot summer. I talked with John Gladwell, a master Porsche tech at The Porsche Store in Plano, Texas and he told me that a likely culprit was that my radiators were plugged up with debris.
Sure enough, he was right. You can't see this dirt until you pry the air conditioner heat exchanger off of the engine coolant radiator, but if your car is like mine it will have more dirt between them than you can imagine will fit. I recommend this procedure on an annual basis, or even at every 15,000 mile service.
In the interest of full disclosure, my radiators had a lot of debris, but the real culprit turned out eventually to be a blown fuse for the fans behind the radiators. Whenever I turned on the AC, which wasn't often, the car would start to overheat. Once the fuse was replaced with a good fuse (and the proper size, I think the body shop swapped it during a crisis one time) I had no more problems with overheating. However, the radiators still get very plugged up.
Here's how to get at them.
- Jack
- Jack stands
- 19mm socket for wheel bolts
- Key for security wheel bolt
- Metric sockets (10mm)
- Regular screwdriver
- Philips screwdriver
- Torx bit (T25)
- Torque wrench (97 ft-lb) to tighten wheel bolts
- Shop vac to clean out debris and other tools to clean out radiators
- (Some have recommended a special tool that is used like a comb to clean the radiator)
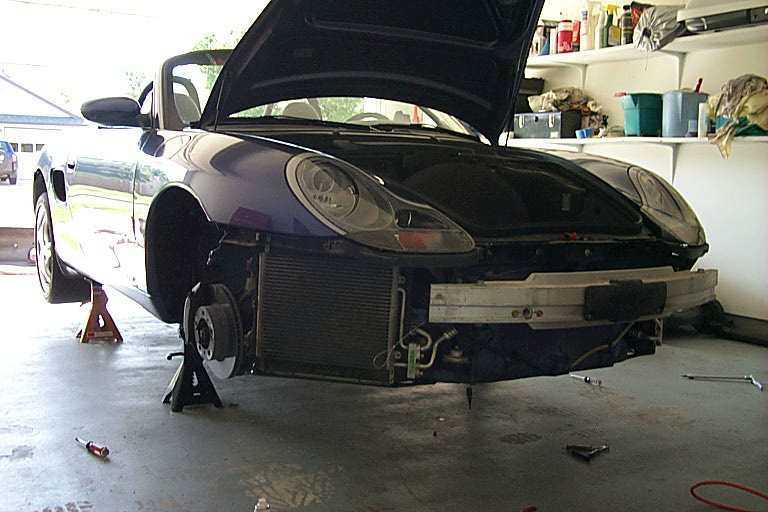
First, jack up the car onto jack stands or use a lift if you have one, and remove the front wheels. Gary Friedhoff has an excellent website detailing how to jack up your car.
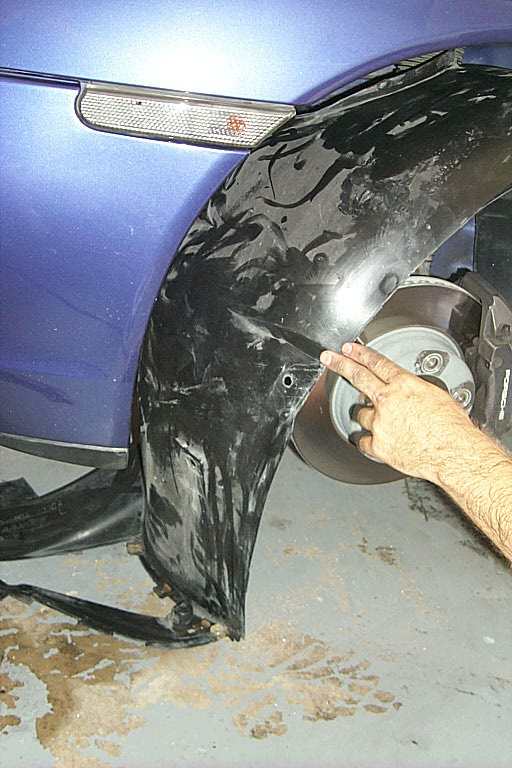
Removing the Wheel Well Liners.
After getting your boxster off the ground and removing the front wheels, you should remove the front wheel well liners. You can probably get by with only disconnecting the front of the liners, but since you're already there and there's only a couple more fasteners, you might as well remove it all the way and inspect underneath them for general condition. There are three types of fasteners holding the liners on. There's three plastic nuts on metal studs, there are about four re-useable plastic rivets, and there are regular philips screws into anchor nuts.
The three plastic nuts are easy to find. Use the 10mm socket to take them off. Easy.
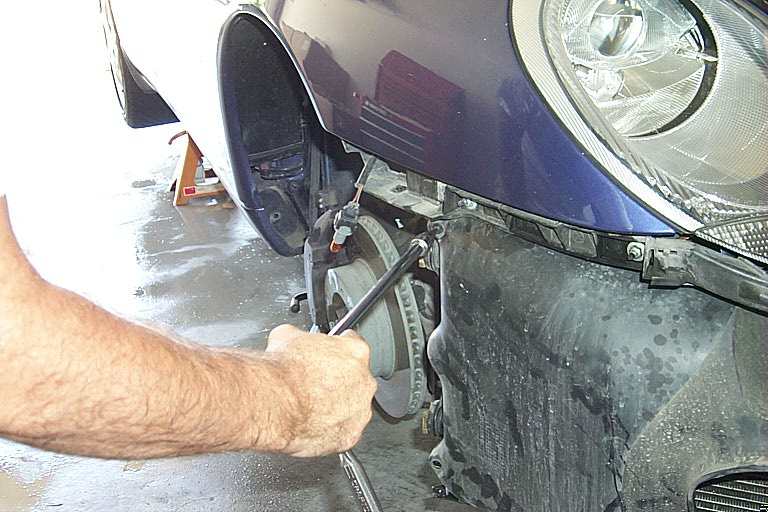
Most of the plastic rivets are easy to spot. One is underneath the nose, as shown here.
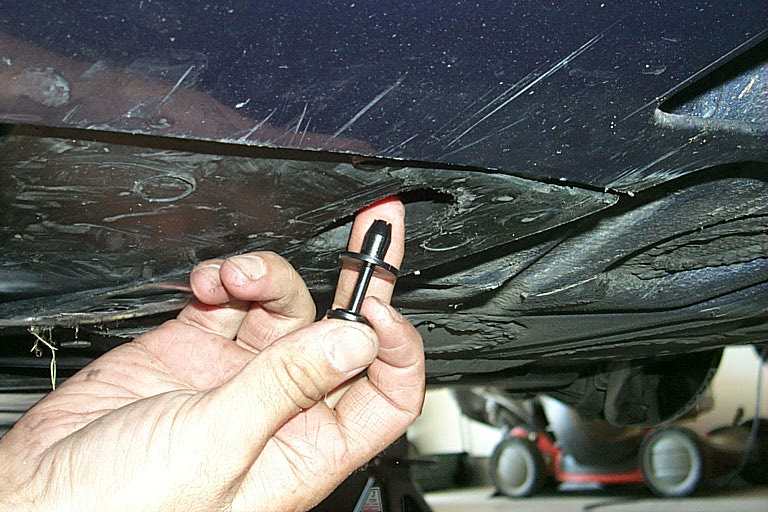
Note how the plastic rivet works. To remove it you should pull the plunger out about an inch and then pull the entire rivet out.
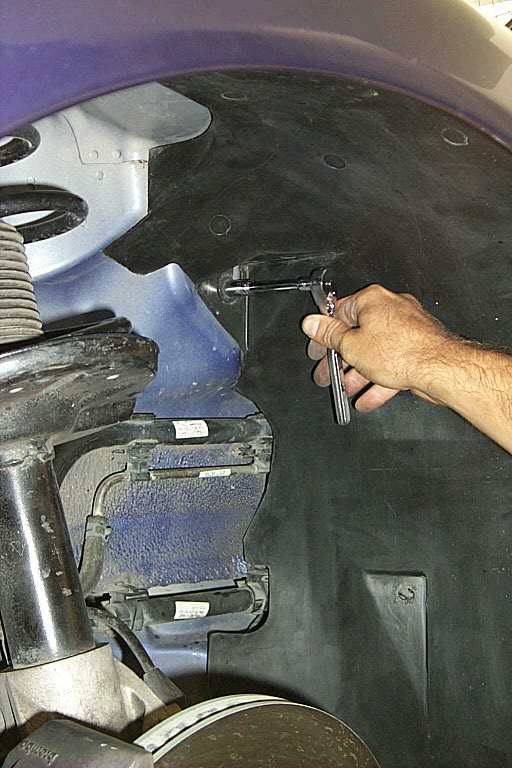
The screws are under the nose, at the forward edge of the wheel well and at the front part of the liner that attaches to the bumper skirt. My pictures didn't come out well, but you should see them easily under the nose.
Now pry out the liner. It's a bit awkward, but it comes out with some modest effort. Putting it back in is a bit trickier, be careful not to tear it or puncture it with the studs that hold the plastic nuts.
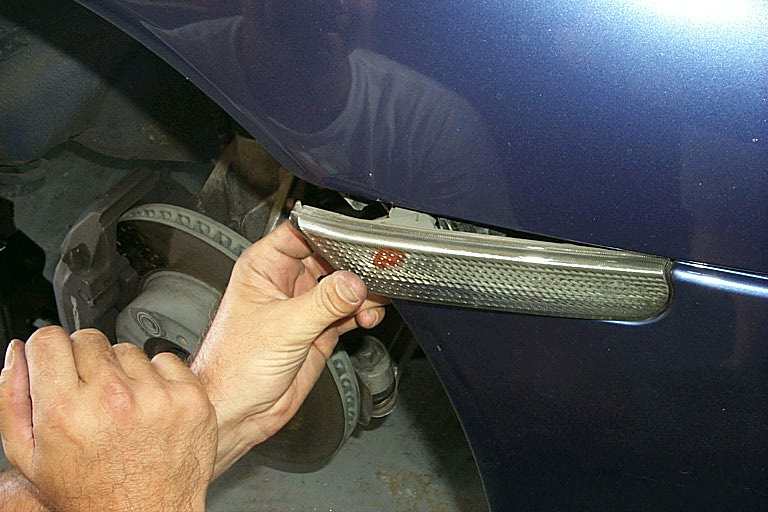
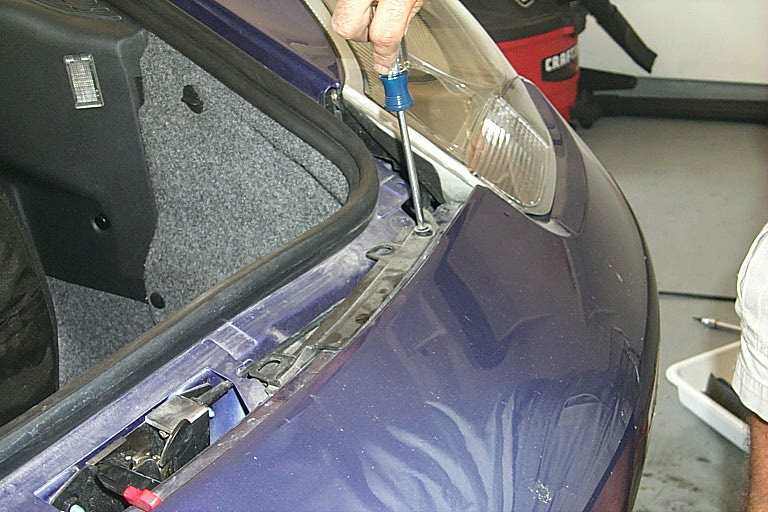
Now remove the side markers. There is a spring that you push in and the assembly pops off. See the owner's manual for more info. Twist the light bulb and pull the light out. Set the assembly off to the side and let the bulb dangle.
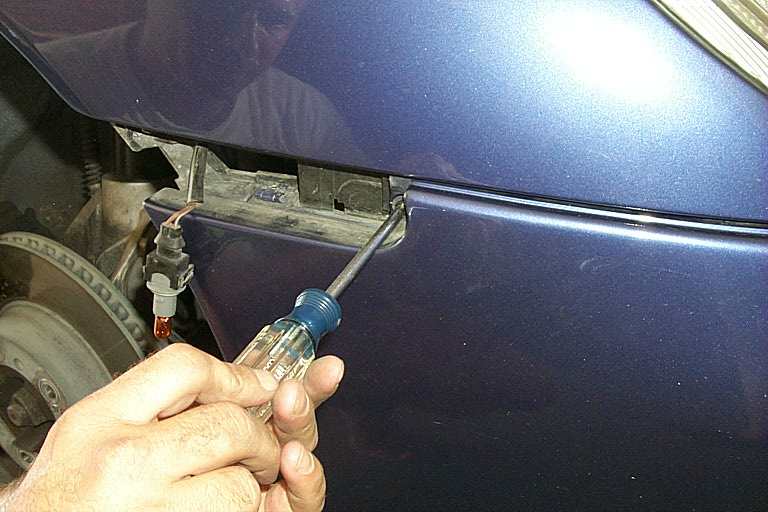
There are two screws on each side at the side marker area. One is at the forward part where the side marker assembly attaches, the other is behind the side marker. Remove these screws.
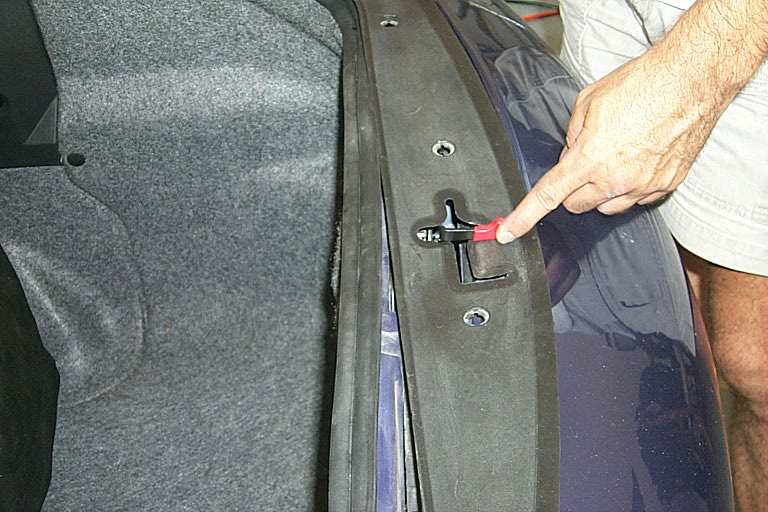
Now you have to remove the plastic cover over the front trunk latch. This is held in place by four simple fasteners. You just rotate these 90 degrees and they come right off (pointed front to rear is fastened, right to left is unfastened). Then pull the cover off over the latch handle.
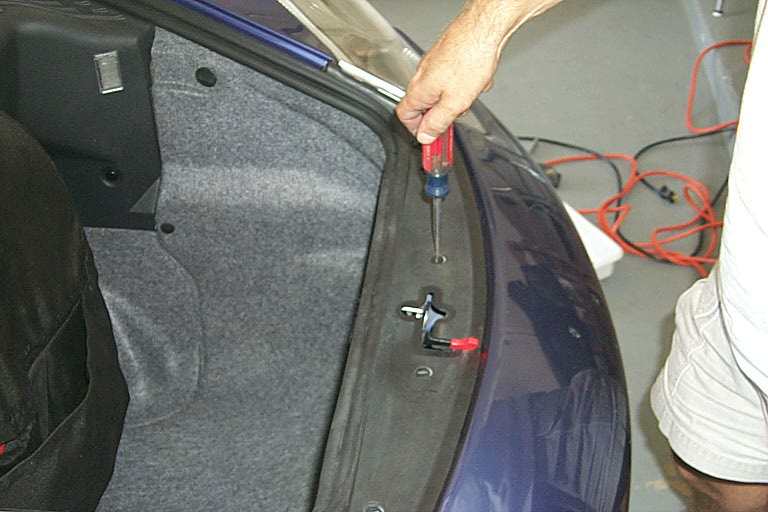
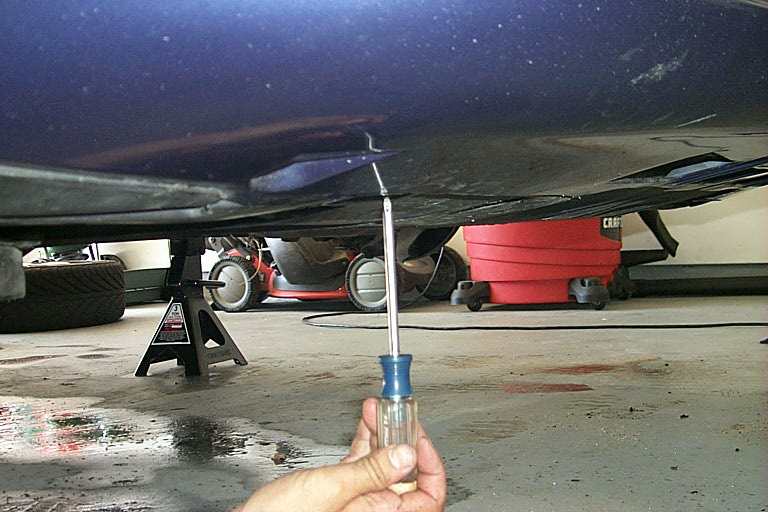
Under this cover are two screws, one on each side of the front of the trunk. Remove these screws.
Last, remove three screws under the center of the nose. The entire front bumper cover should easily slide off now. I recommend laying an old quilt on the garage floor to set it on so your paint doesn't get scratched.
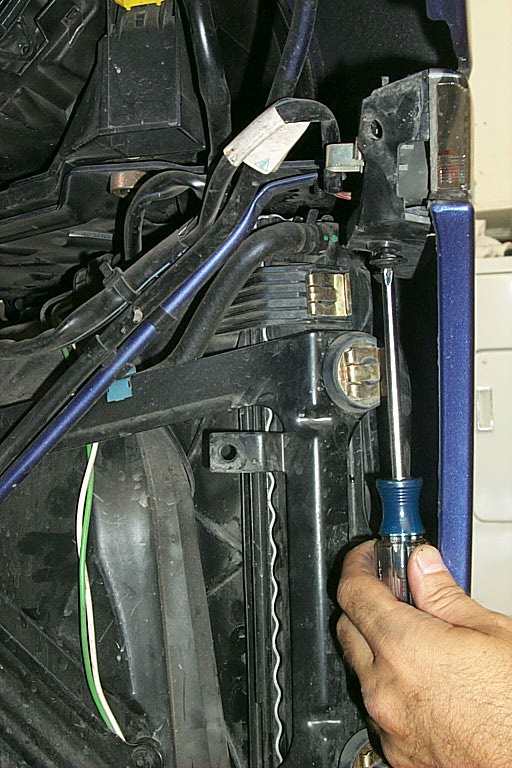
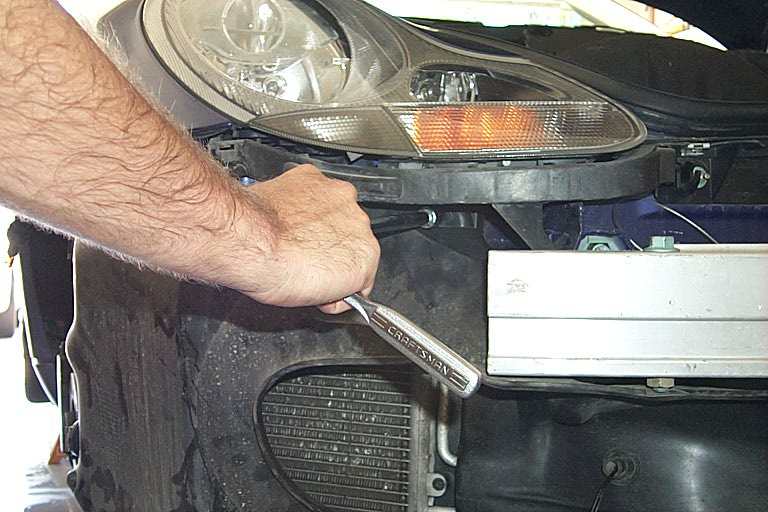
Now you remove the scoops. There are two torx screws on the outside of the scoops. Use your T25 torx bits to remove them.
There are two torx screws inside the inboard of the scoops.
And there is one torx screw on the top outside of the inboard of the scoops. The scoops should come right off, except the right one. . .
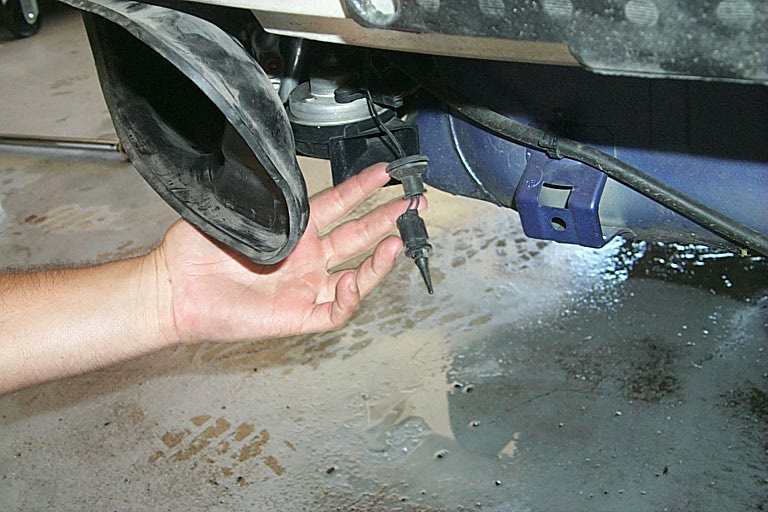
. . . which you need to take the Outside Air Temperature Probe off of. This dismounts easily from the grill (it doesn't fit very tight in its mounting bracket).
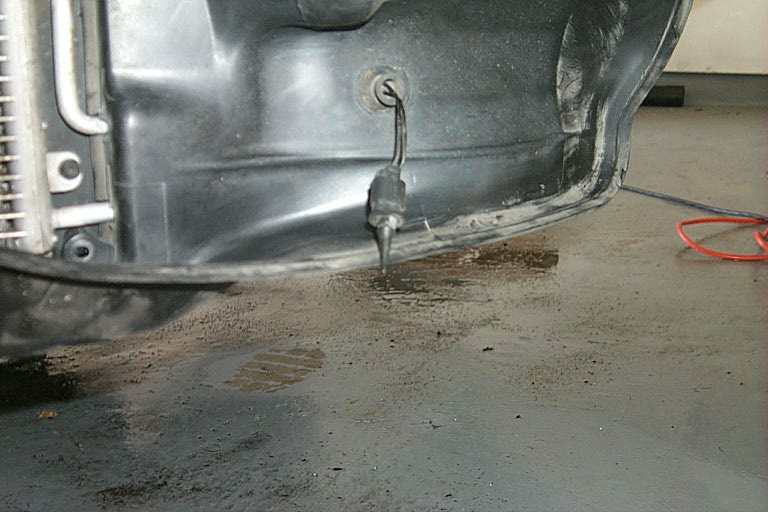
Then just pop the rubber grommet off the scoop and let it dangle.
By now you should be seeing a lot of debris. Vacuum as much up as you can at this point.
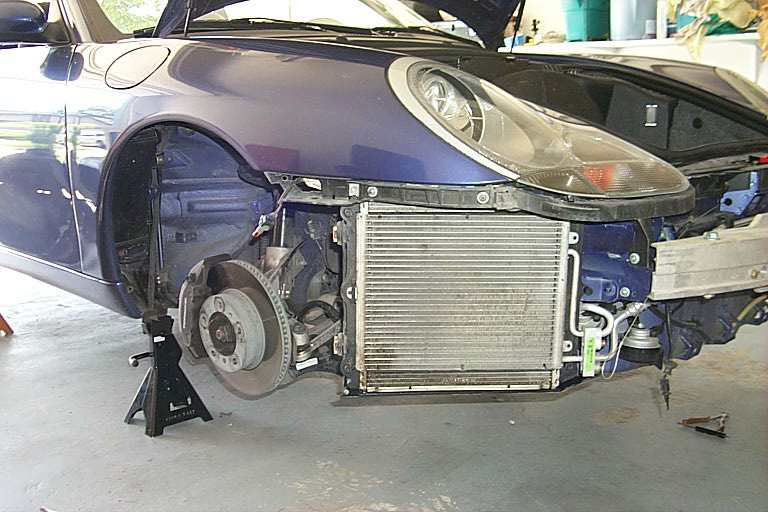
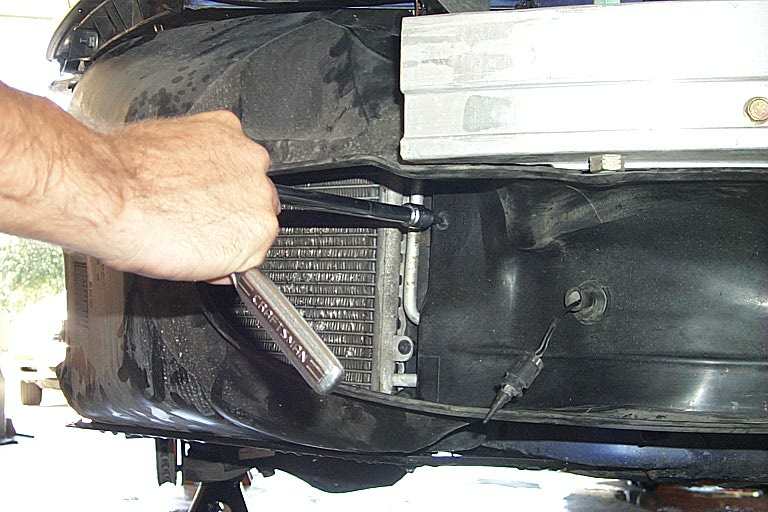
Next you disconnect the air conditioner radiators. These are held in place by two torx screws on the inboard. . .
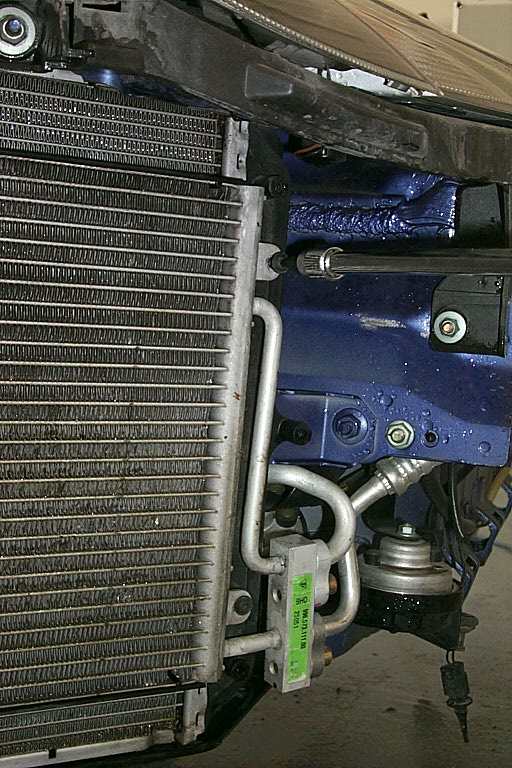
. . . and by a slot on the outboard. After removing the two inboard screws, carefully slide the heat exchanger inboard. Be careful with the aluminum tubing, which is connected to some hefty rubber hoses. Make sure the rubber bends, not the aluminum!
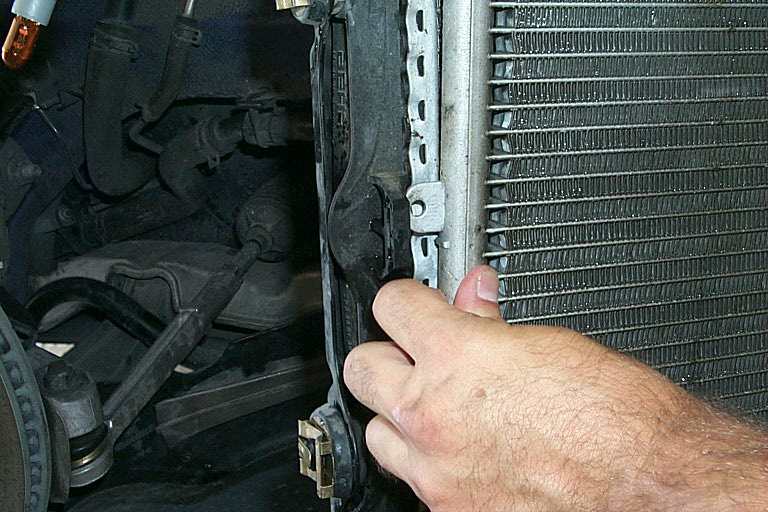
Then pry the heat exchanger back.
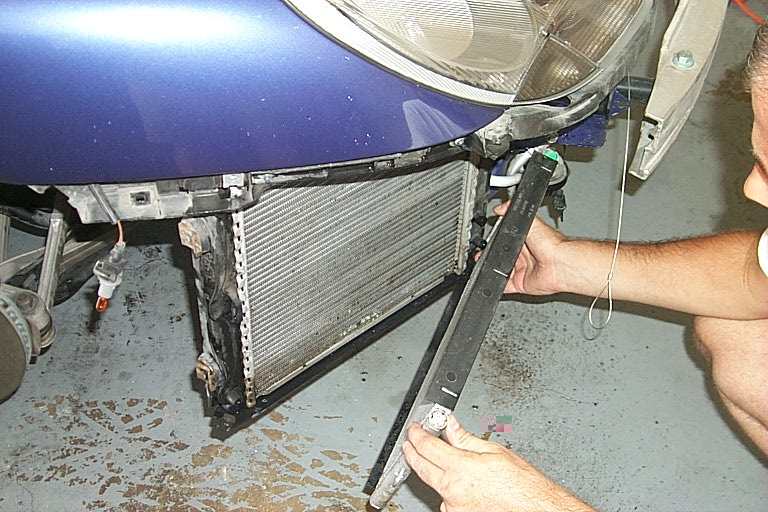
Clean out the radiators as much as possible. I used a water hose at low pressure, which removed a lot of the grime on the bottom of the radiators, but there was still some dirt left.
I didn't find a way to access the rear of the radiators. It looked too involved to remove them and I got most of the dirt out already.
Reassembly is the reverse order of disassembly. One thing I recommend is that you move the emergency trunk release cable to the tow hole. If your battery ever dies, you'll pay hell to get your trunk open. If you put this cable in the tow hole, you can simply access the tow hole, and then pull this cable to open the trunk so you can access your battery.
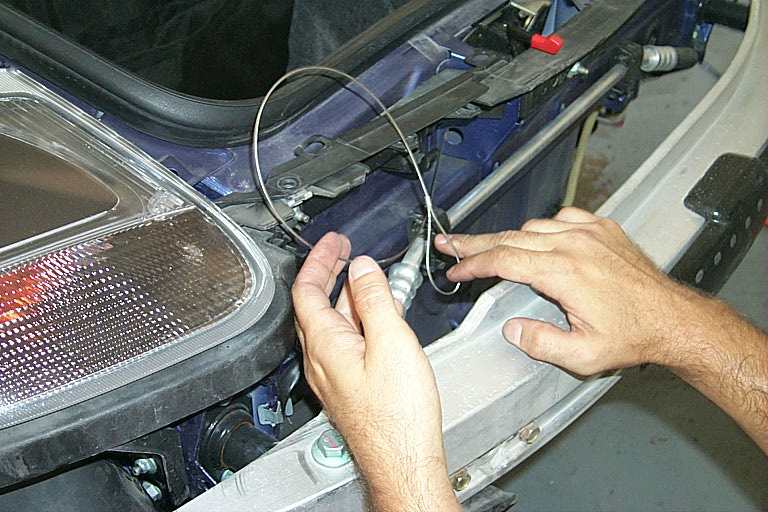
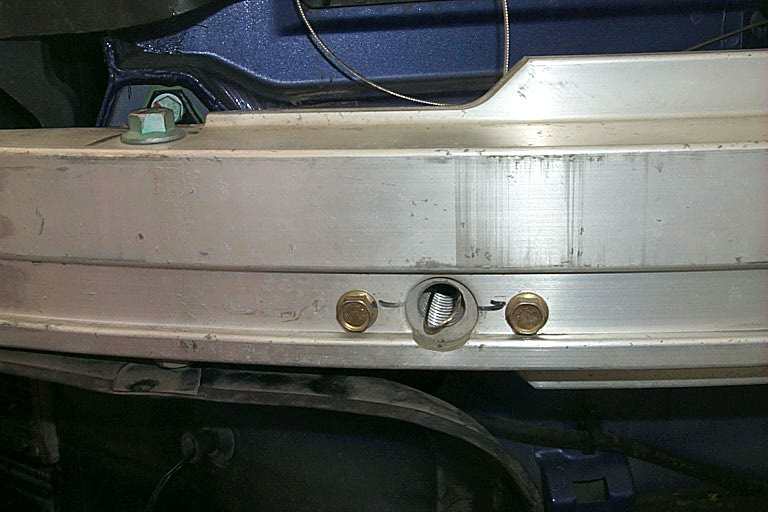
Use some tape to hold the slack cable, if there is any, from getting tangled on anything.
Now put it all together again! Good luck!
Back to Skyler's Web Site